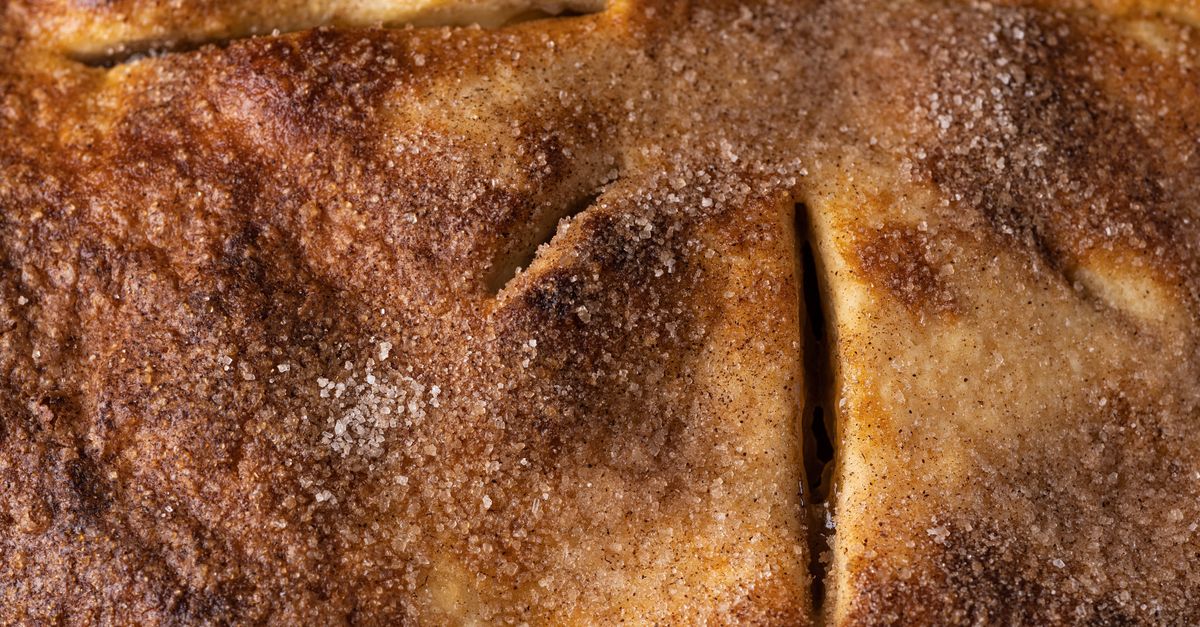
Why Your Homemade Pie Crust Shrinks (And The Simple Shifts That Guarantee Perfect, Flaky Edges Every Time)
Every year, as autumn rolls around and the smell of cinnamon fills the air, I get calls from friends, usually in a mild panic. Their homemade pie crust – the foundation of their holiday dessert dreams – has shrunk in the oven. The beautiful crimped edges are gone, replaced by sad, slumped dough that barely reaches the filling. It’s a common frustration, and one I wrestled with for years myself, often leading to a messy, unattractive pie, or worse, a burnt, exposed filling.
I used to blame my oven, the recipe, even the phase of the moon. But through countless experiments, and more than a few stubbornly shrunk crusts, I discovered that the culprits are almost always the same, and the fixes are surprisingly simple. It’s not about magic; it’s about understanding the science of dough and respecting its needs. Once you master these principles, you’ll be turning out picture-perfect pies with consistently flaky, stable edges that hold their shape every single time.
Key Takeaways
- Ensure your butter is ice-cold and accurately measured to prevent over-softening and gluten development.
- Avoid overworking the dough during mixing and rolling to maintain flakiness and prevent gluten from tightening.
- Chill your dough thoroughly at multiple stages to relax gluten and stabilize fats, minimizing shrinkage.
- Use a gentle, even rolling technique and avoid stretching the dough to ensure uniform thickness and shape retention.
- Give the crimped crust time to rest in the fridge before baking to relax any remaining tension.
The Real Enemy: Overworked, Warm Dough
When I first started baking, I treated pie dough like any other dough – something to knead and work until it was smooth and elastic. Big mistake. Pie dough is different. Its magic lies in delicate pockets of butter encased by flour. When those butter bits melt, they release steam, creating the flaky layers we crave. If you overwork the dough, especially with warm hands or in a warm kitchen, two things go wrong.
First, the butter melts prematurely and gets absorbed into the flour, eliminating those crucial steam pockets. Instead of flakiness, you get a tough, dense crust. Second, and crucially for shrinkage, you develop gluten. Gluten is what gives bread its chewiness, but in pie crust, it’s the enemy of stability. When gluten develops, it forms an elastic network. In the heat of the oven, this network contracts, pulling the edges of your crust inward. It’s like a tiny rubber band snapping back, but with delicious consequences turned tragic.
What changed everything for me: I learned to embrace the shaggy, slightly crumbly dough. My hands became faster, colder, and gentler. I started using a pastry cutter, and later, a food processor for pulsing the butter into the flour (only a few pulses!). The goal is pea-sized or even slightly larger pieces of butter, distributed throughout the flour, not fully incorporated. This ensures those distinct butter pockets survive the mixing process and create maximum lift and flakiness when baked.
Actionable Insight: Work quickly and keep everything cold. If your kitchen is warm, chill your flour in the freezer for 15 minutes before starting. Use ice water, not just cold water, and add it tablespoon by tablespoon until the dough just barely comes together. When you press a piece between your fingers, it should hold its shape, but still look a little rough.
The Overlooked Power of Proper Chilling (And Why More is Better)
Chilling isn’t just a suggestion; it’s a non-negotiable step for perfectly stable pie crusts. And in my experience, most recipes don’t emphasize how much chilling is truly beneficial. There are three critical chilling stages, and skipping any of them can lead directly to shrinkage.
After mixing the dough: This initial chill, typically 30 minutes to an hour, allows the gluten to relax after mixing. It also firms up the butter, making the dough easier to roll without it sticking or becoming greasy. If you skip this, your dough will be springy and resistant, forcing you to stretch it – a major cause of shrinkage.
After rolling and placing in the pie plate: This is the most crucial chill. Once your dough is rolled, trimmed, and crimped in the pie plate, it needs another significant rest in the refrigerator. I’m talking at least 30 minutes, but ideally an hour, or even overnight. This step is a game-changer. It gives the butter time to solidify completely within the rolled layers and, more importantly, allows any residual gluten tension from rolling to fully relax before it hits the heat. If the gluten is still tense, the heat of the oven will cause it to contract, pulling your beautiful edges down.
Before blind baking (if applicable): If you’re blind baking your crust, a final 15-20 minute chill right before it goes into the oven, after adding pie weights, is immensely helpful. This extra chill ensures the edges are firm and less likely to slump under the heat, especially important for custard or quiche pies where you need a crisp, tall edge.
Actionable Insight: Make chilling your mantra. Always chill the dough after mixing. Always chill it again for at least 30-60 minutes after it’s in the pie plate and crimped. Don’t rush these steps. If you’re short on time, it’s better to make the dough a day ahead and let it chill overnight; it actually improves the flavor and texture.
The Subtle Art of Rolling: Avoid Stretching at All Costs
This might seem obvious, but it’s where many people unknowingly sabotage their crust. When you’re rolling out pie dough, the natural tendency is to push and stretch it to fit your desired size. Every time you stretch the dough, you’re activating and realigning those gluten strands, creating tension. When that tension-filled dough hits the hot oven, it has nowhere to go but inward, causing shrinkage.
What changed everything for me: I stopped trying to force the dough. Instead of stretching, I learned to gently rotate it, flouring my surface and rolling pin frequently to prevent sticking. A good technique involves rolling from the center outwards, then rotating the dough a quarter turn, and repeating. If the dough springs back too much, it’s a sign the gluten is tense – let it rest for 5-10 minutes on the counter before continuing. This brief rest allows the gluten to relax, making the dough more cooperative.
Another crucial tip: ensure the rolled dough is consistently thicker than you think it needs to be, especially around the edges. Thin edges cook faster and are more prone to slumping. And when you transfer the rolled dough to the pie plate, do it carefully, allowing it to fall into the contours of the plate without stretching. If you lift and pull the dough to force it into the corners, you’re building in future shrinkage.
Actionable Insight: Roll, don’t stretch. Use plenty of flour to prevent sticking, rotate your dough frequently, and if it resists, let it rest. When transferring, fold it in half or quarters and gently unfold it into the pie plate, easing it into the corners rather than pulling.
The Importance of Sufficient Overhang and Gentle Crimping
Many home bakers trim their pie crust too close to the edge of the pie plate. When the dough shrinks (and even with perfect technique, there will always be a tiny bit of contraction), there’s no buffer, and your filling is exposed. Giving yourself enough overhang is a simple, effective insurance policy.
I always aim for at least a 1-inch overhang beyond the rim of the pie plate. This extra dough can be trimmed after chilling in the pie plate, or simply crimped with a little more generosity. When crimping, avoid pressing too hard or creating overly dramatic flutes that can tear or weaken the edge. A firm, but gentle, crimp is all you need. The goal is to create a stable, decorative edge, not to stretch the dough into submission.
For extra security, especially with wet fillings, you can try a high-rimmed pie dish. The taller sides offer more surface area for the crust to cling to. Another trick I learned from an old baker is to gently press the crimped edges of the crust against the rim of the pie plate. This creates a small amount of adhesion that helps hold the crust in place during baking.
Actionable Insight: Leave a generous 1-inch overhang when trimming your dough. Crimp gently but firmly, pressing the dough slightly against the pie plate rim for added stability. Consider a higher-rimmed pie plate if you consistently struggle with slumping.
Frequently Asked Questions
Q: Can I use warm butter in pie crust if I chill it longer?
A: No, absolutely not. Warm butter will incorporate too thoroughly into the flour, developing gluten and eliminating the pockets needed for flakiness, regardless of chilling time. Always use ice-cold butter, ideally cut into cubes and even frozen for a few minutes before mixing.
Q: My dough is really sticky while rolling. What should I do?
A: This is usually a sign of too much water in the dough or that the butter has softened too much. Lightly flour your work surface and rolling pin. If it’s still sticky, gently dust the dough itself with a little flour. If the stickiness persists and the dough feels greasy, re-wrap it and chill it again for at least 30 minutes before trying to roll it out. Don’t add more flour to the dough itself, as this can make the crust tough.
Q: Can I re-roll pie dough if it shrinks too much?
A: You can, but it’s generally not recommended for the main crust. Each time you re-roll, you develop more gluten, making the dough tougher and more prone to shrinkage. If a small amount shrinks, you can try gently pressing it back into place while it’s still warm from the oven, but for major shrinkage, it’s best to accept it and learn for next time. If you need a patch, use scraps for decorative cutouts rather than trying to fully re-roll.
Q: Should I prick the bottom of my pie crust before baking?
A: Yes, if you’re blind baking or pre-baking your crust, pricking the bottom of the crust with a fork a few times (without piercing all the way through) allows steam to escape. This prevents the bottom from puffing up, ensuring a flat surface for your filling. If you’re baking a filled pie that doesn’t require blind baking, often pricking isn’t necessary as the filling weighs it down.
Q: What kind of pie plate is best to prevent shrinkage?
A: Glass or ceramic pie plates tend to conduct heat more evenly and slowly than metal ones, which can help promote a more stable crust. Also, pie plates with slightly fluted or textured rims can provide a better grip for the crimped edges, further reducing slumping. However, proper dough technique is far more important than the material of the pie plate.
Mastering pie crust can feel like a lifelong quest, but these foundational shifts made all the difference for me. Stop fighting with your dough and start working with it. Keep it cold, treat it gently, and give it the time it needs to relax. You’ll soon find yourself effortlessly turning out beautiful, flaky, and stable pie crusts that are the perfect frame for any delicious filling. Happy baking!
Written by Ben Carter
DIY, home hacks, and sustainable living
With a background in community organizing, Ben is passionate about sustainable living and practical home solutions.
You Might Also Like
Why Your Homemade Gravy Is Lumpy (And What Actually Works for Silky-Smooth Perfection Every Time)
Stop making lumpy gravy! Discover why traditional methods fail and learn the simple, pro techniques for perfectly smooth, rich gravy every time.

Why Your Homemade Sauces Are Gritty, Not Smooth (And The Simple Shifts That Guarantee Silky Perfection Every Time)
Stop settling for gritty sauces. Discover the non-obvious mistakes home cooks make and the simple, professional shifts for velvety-smooth perfection.

Why Your DIY Home Sauna Feels Flimsy (And What Actually Works for Lasting Comfort)
Stop wasting time and money on a DIY sauna that feels flimsy. Learn the crucial structural and material choices that ensure a durable, enjoyable home sauna.