
Why Your Homemade Sauces Are Gritty, Not Smooth (And The Simple Shifts That Guarantee Silky Perfection Every Time)
You’ve spent time carefully preparing a rich pasta sauce, a decadent custard, or a creamy gravy, only to find it has a disappointing, gritty texture. It’s not just an aesthetic issue; it can ruin the entire dish. You envision that silky restaurant-quality finish, but instead, you get something that feels more like fine sand than a luxurious coating. I’ve been there more times than I care to admit, especially in my early days of cooking. I’d follow recipes to the letter, stirring diligently, yet the outcome was consistently frustrating. It wasn’t until I started working through the subtle nuances of liquid emulsification and particle dispersion, through countless kitchen experiments and more than a few ruined meals, that I finally cracked the code. The problem isn’t your ingredients or even your effort; it’s usually a few key mistakes that are easily overlooked but fundamentally alter the final texture.
This isn’t about expensive equipment or exotic techniques. It’s about understanding the underlying science of sauce making and making a few strategic adjustments. I’ll show you why your sauces are betraying you and, more importantly, what specific, actionable steps will transform them into the velvety masterpieces you crave.
Key Takeaways
- Ensure proper ingredient temperature and slow incorporation, especially when thickening with eggs or dairy, to prevent curdling and grit.
- Always strain puréed or simmered sauces through a fine-mesh sieve to remove fibrous bits and ensure a smooth finish.
- Achieve optimal starch hydration by whisking flour or cornstarch thoroughly with a cold liquid before adding to hot mixtures.
- Avoid high heat after adding dairy or starches to prevent protein coagulation and scorching, which lead to a gritty texture.
The Temperature Tango: Why Cold Ingredients Are Sabotaging Your Smoothness
The most common culprit I see for gritty sauces, especially with dairy-based gravies, custards, or creamy soups, is a lack of temperature mindfulness. Think about it: you’re eager to get dinner on the table, so you grab milk or cream straight from the fridge and dump it into a simmering roux or hot stock. Or you add eggs directly from the carton into a hot liquid for a custard. This sudden temperature shock is a recipe for disaster. The proteins in dairy, or the egg solids, instantly seize up, coagulate, or even curdle when introduced to extreme heat too quickly. Instead of smoothly integrating, they form tiny, distinct lumps that create that unpleasant gritty sensation.
In my own kitchen, I learned this the hard way with a cheese sauce. I used cold milk and, even with constant whisking, the sauce was grainy. It wasn’t until a seasoned chef friend pointed out my impatience with temperature that I realized my mistake. What changed everything for me was embracing the concept of tempering for dairy and eggs. For dairy, this means letting your milk or cream come to room temperature for at least 30 minutes before you even start cooking. For eggs, it’s even more critical. If you’re making a custard or lemon curd, you absolutely must temper the eggs. This involves slowly whisking a small amount of the hot liquid into the beaten eggs, little by little, to gently raise their temperature before adding the warmed egg mixture back into the main pot. This gradual process prevents the proteins from scrambling or clumping, ensuring a smooth, cohesive result.
Consider a béchamel sauce: if you add cold milk to a hot roux, the starch granules in the roux will absorb the cold liquid unevenly, causing lumps. By warming the milk gently beforehand (microwave or separate saucepan), you ensure a smoother, more even absorption of the starch, leading to a truly silky sauce. This isn’t just a nicety; it’s a fundamental step that separates amateur from professional-level sauces. It adds a few minutes to your prep, but saves you from a gritty disaster and the need to start over.
The Overlooked Power of the Sieve: Your Sauce’s Best Friend
Many home cooks (myself included, initially) assume that blending or simmering a sauce long enough will automatically lead to a smooth consistency. We rely on immersion blenders or food processors, thinking they’ll pulverize everything into oblivion. While blending is a crucial step for breaking down solids like tomatoes, roasted vegetables, or herbs, it’s rarely enough to achieve truly silky perfection. There will almost always be fibrous bits, tiny unblended chunks, or even scorched particles from the bottom of the pot that contribute to a gritty mouthfeel. This is where a simple, inexpensive tool — the fine-mesh sieve — becomes indispensable.
I used to be intimidated by straining, thinking it was an extra, fussy step. But when I made my first truly smooth tomato sauce after passing it through a fine-mesh sieve, I realized it was non-negotiable for certain sauces. The difference was astonishing. The sauce went from ‘good homemade’ to ‘restaurant-quality’ simply by removing those imperceptible fragments that had been contributing a textural distraction.
For any sauce that relies on puréed vegetables, fruits, or even reduced stocks where tiny protein coagulations might occur, straining is paramount. Think about a vibrant puréed bell pepper sauce, a rich mushroom soup, or a delicate raspberry coulis. Blending gets you 90% there, but the sieve captures that final 10% of unwanted particulate matter. Don’t just pour it through; use the back of a ladle or a spatula to push the sauce through, extracting every drop of smooth liquid and leaving behind the fibrous pulp. This step is particularly vital for sauces that aim for a uniform, luxurious texture, such as hollandaise, béarnaise, or even a well-made gravy. It ensures that every spoonful is a delight, free from any textural surprises.
The Starch Solution: Why Your Thickener Isn’t Dissolving Properly
Starches, like flour or cornstarch, are magic for thickening, but they can quickly turn into a gritty nightmare if not handled correctly. The mistake I see most often, and one I made countless times, is adding dry starch directly to a hot liquid. When you dump flour or cornstarch straight into a simmering sauce, the outer layer of the starch granules hydrates and gels almost instantly, forming a barrier that prevents the interior from hydrating. The result? Little gummy pockets of uncooked starch that leave your sauce gritty and often tasting raw.
What changed everything for me was the slurry technique. This involves thoroughly whisking your starch (flour, cornstarch, arrowroot, etc.) with a cold liquid (water, milk, broth) before adding it to your hot sauce. The cold liquid allows the starch granules to separate and hydrate evenly, preventing them from clumping. When this smooth slurry hits the hot liquid, it thickens uniformly, leading to a silky-smooth sauce.
Let’s get specific: if you’re making gravy, instead of sprinkling flour into pan drippings, take a tablespoon of flour and whisk it with two tablespoons of cold water in a small bowl until it’s perfectly smooth. Then slowly whisk this slurry into your simmering pan drippings. The transformation is remarkable. For cornstarch, which has even greater thickening power, the same principle applies. Even a tiny lump of unhydrated cornstarch can make an entire sauce gritty. A proper slurry eliminates this risk. This simple pre-mixing step ensures the starch fully disperses and contributes to a homogeneous, velvety texture, rather than a lumpy, gritty mess.
The Heat Trap: When Too Much Heat Turns Smooth into Grainy
Once you’ve successfully incorporated your thickeners and emulsified your liquids, the final common mistake that leads to a gritty sauce is applying too much heat, or continuing to boil, after certain ingredients are added. This is particularly true for sauces containing dairy, eggs, or even some delicate starches. High heat can cause proteins to denature and coagulate rapidly, leading to a grainy or curdled texture. It can also cause starches to over-gel and break down, losing their smooth consistency.
For example, if you’re finishing a cream sauce and bring it to a rolling boil after adding the cream, the dairy proteins will likely separate and clump, creating a visually unappealing and texturally gritty sauce. Similarly, simmering an egg-thickened custard too vigorously will cause the eggs to curdle, resulting in a gritty, broken consistency. Even starch-thickened sauces can become grainy if scorched at the bottom of the pan due to excessive heat, as the overcooked starch forms hard, insoluble particles.
My approach now is to reduce the heat to a gentle simmer or even off the heat entirely once the main thickening agent is in and the sauce is nearing completion. For dairy-rich sauces, I always keep the heat at a bare simmer, never a boil, after adding the dairy. For sauces thickened with egg yolks, such as a rich carbonara or a creamy pasta sauce, I often remove the pan from the heat entirely and rely on the residual heat to gently cook the eggs to the desired consistency. This delicate handling ensures that the proteins remain dispersed and the starches retain their smooth, voluptuous texture. It’s about being patient and letting the heat do its work gently, rather than aggressively forcing the thickening process. This final, mindful touch is often the difference between a good sauce and an absolutely flawless one.
Frequently Asked Questions
Q1: Can I fix a gritty sauce after it’s already formed?
A1: Sometimes, yes, but it depends on the cause. If the grit is from unhydrated starch lumps, you might be able to strain it aggressively through a fine-mesh sieve and then gently reheat it, whisking constantly. If it’s from curdled dairy or overcooked eggs, it’s much harder to salvage, as the proteins have fundamentally changed structure. For small amounts of curdled dairy, adding a tiny pinch of baking soda can sometimes help neutralize acidity and smooth it out, but it’s not a guaranteed fix. Prevention is always easier than a cure.
Q2: Is there a difference between cornstarch and flour for thickening in terms of smoothness?
A2: Yes, a significant one. Cornstarch generally produces a clearer, glossier, and smoother sauce than flour, and it thickens more effectively, requiring less product. Flour, especially if not cooked long enough in a roux, can leave a slightly opaque finish and a noticeable floury taste. However, both can lead to gritty sauces if not properly hydrated into a cold liquid slurry before being added to hot mixtures.
Q3: How important is whisking technique to prevent gritty sauces?
A3: Extremely important. Constant, vigorous whisking, especially when incorporating liquids into starches (like making a roux) or adding thickeners, helps to prevent lumps and ensures even dispersion. When making a slurry, whisk until absolutely no lumps remain. When adding that slurry to a hot sauce, continue whisking constantly as it thickens to prevent scorching and ensure uniform smoothness. A good balloon whisk is your best friend here.
Q4: My homemade tomato sauce is gritty even after simmering for hours. What am I doing wrong?
A4: For tomato sauces, grit often comes from unpulverized tomato skins or seeds, or from the fibrous elements of the tomato flesh itself, even after long simmering. Blending with an immersion blender is a good start, but the crucial step is to pass the blended sauce through a fine-mesh sieve or a food mill. This will remove all those tiny, gritty particles, leaving you with a wonderfully smooth, uniform sauce. A long simmer helps with flavor, but not always with texture.
Q5: Can I use a regular blender instead of an immersion blender for smoothness?
A5: Yes, a regular high-speed blender can be even more effective than an immersion blender for achieving ultimate smoothness, especially for larger batches or tougher ingredients. Just be sure to blend in batches if your blender is small, and always be cautious when blending hot liquids. Fill the blender only halfway, remove the center cap of the lid (or vent it carefully) to allow steam to escape, and cover the opening with a kitchen towel to prevent splatters. Then strain as described for ultimate silkiness.
Written by Maria Rodriguez
Time management, productivity, and consumer tips
A veteran journalist, Maria brings a keen eye for detail and a knack for finding the best deals and little-known life hacks.
You Might Also Like
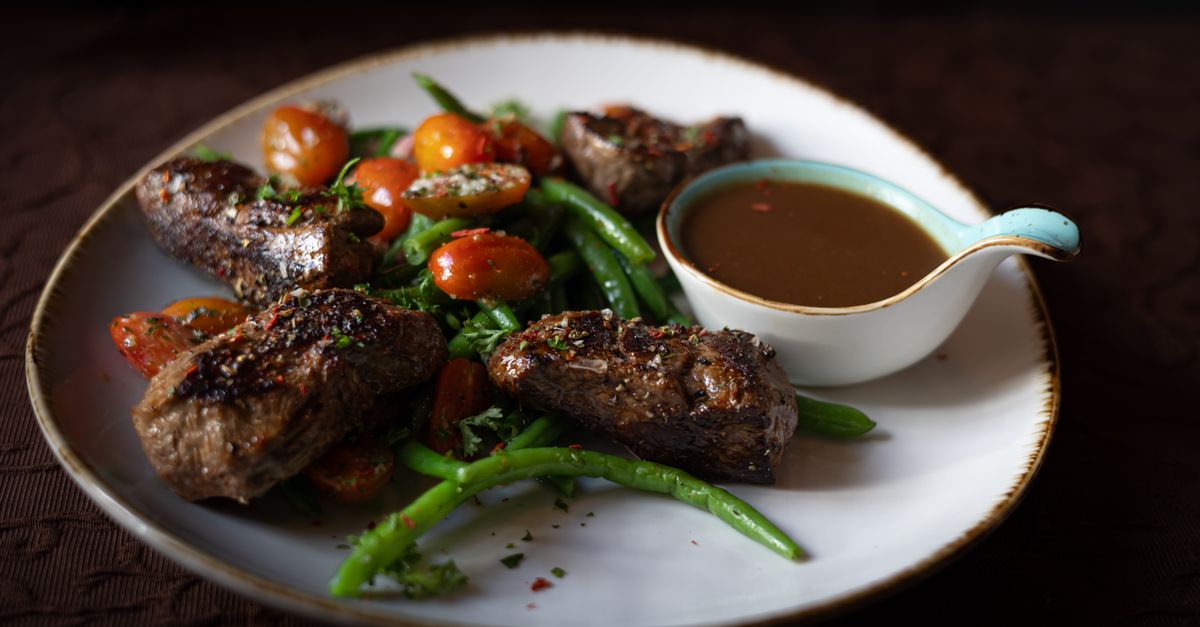
Why Your Homemade Gravy Is Lumpy (And What Actually Works for Silky-Smooth Perfection Every Time)
Stop making lumpy gravy! Discover why traditional methods fail and learn the simple, pro techniques for perfectly smooth, rich gravy every time.
Why Your Homemade Pie Crust Shrinks (And The Simple Shifts That Guarantee Perfect, Flaky Edges Every Time)
Stop wrestling with shrinking pie crusts! Discover the simple, often overlooked secrets to perfectly stable, flaky edges that hold their shape.

Why Your DIY Home Sauna Feels Flimsy (And What Actually Works for Lasting Comfort)
Stop wasting time and money on a DIY sauna that feels flimsy. Learn the crucial structural and material choices that ensure a durable, enjoyable home sauna.